Ottilla Linen Dress by Darwin
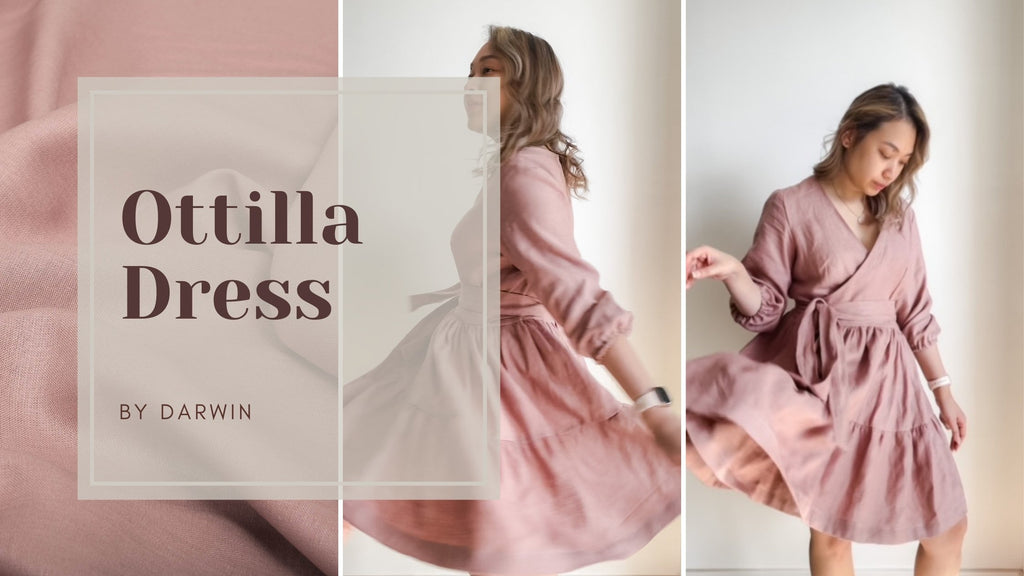
As it approaches colder weather in Australia, I thought I’d look for more weather appropriate patterns to add to my wardrobe. When I first saw the Otilia dress pattern by schultzapparel, I knew I needed to add it to my collection. I was in absolute awe of how feminine and beautiful it was, and the longer sleeves works in my favour for the cooler temperatures. I imagined wearing it with black stockings and ankle boots!

The fabric I chose to use is a beautiful rose pink linen from de Linum and I used just shy of 4 metres. The pattern recommends something light to medium weight like a linen or rayon but I definitely didn’t realise the fabric I chose was a heavy weight linen which is more-so used for pants or something more structured as it’s more sturdier than lightweight to medium linen, but it turned out beautifully regardless.
I’ve been sewing for just over a year and still consider myself as an advanced/ intermediary sewer in terms of skills and recommend this pattern to those of the same or more advanced sewing levels. This dress took me about four afternoons to make, but I’m the kind of person of who splits tasks over separate days. For example, this is a PDF pattern, so I printed, taped and cut out my paper pattern on day 1 (size 10/40EU). On day 2, I cut out my pattern pieces out of fabric and ironed them and began sewing on days three and finished on day 4. I find breaking the process up works better for me; otherwise, it starts to feel a chore.

For the actual sewing process, the main bodice, excluding sleeves, came together very quickly. I started with stay stitching the bodice, sewing 4 darts and attaching the front and back bodice pieces together at the shoulder Sean’s and sides seams. After these steps, the bodice begins to take shape!

From here, I made the long ties by sewing down the entire width with a straight stitch and down one side of the shorter sides. I then used a paintbrush to turn out the ties to the right side but you can use anything long and pointy, like knitting needles for examples. If you’re doing it correctly, the fabric will gather around your pointy object of choice, and the right side of the fabric will eventually poke through the other side of the ties. At this point, it’s ready to be turned the right way out by pulling it all the way through until the whole tie is right side out. I ironed the ties and basted them onto the bodice.

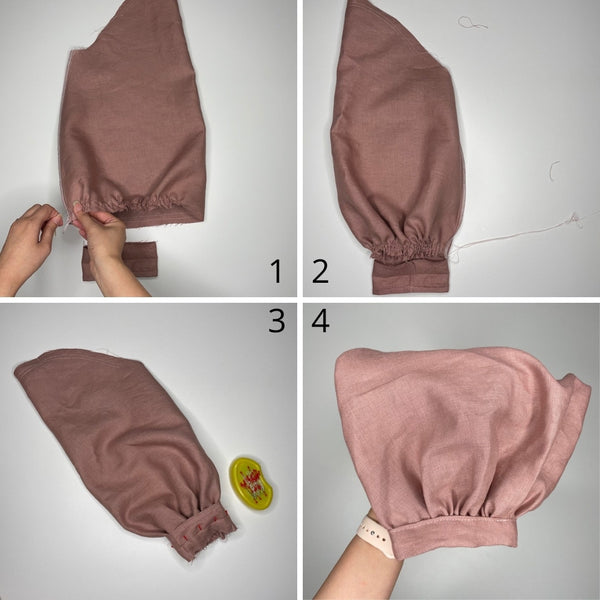
After the bodice and ties, things got a bit more tricky - it was time for the sleeves. I started by sewing down the side seams, followed by gathering the sleeve to fit into the cuff piece. For the gathering, I sewed two straight basting stitches along the edge of the sleeve and carefully pulled the thread to obtain a gathered effect. As for the cuff, I’ve never sewn a cuff before so this was new and messy territory for me. I slid the cuff - right sides facing - over the gathers and sewed a straight stitch. I then ironed down 1cm from the top of the cuff and folded the cuff over the exposed seams, and stitched in place.
From here it was time to attach the sleeve. I gathered the top part of the sleeves, following the same gathering steps as before until the sleeve fit inside the bodice. I attached the sleeves with pins, right sides together - making sure I was matching notches and seams to ensure I was sewing them correctly. You can’t even imagine how many times I’ve sewn sleeves on upside down or inside out, or both at the same time! Make sure you take your time to avoid mistakes. Once all aligned, I sewed the sleeves in place, and with that, the bodice is complete - or so I thought.
It was at this point I realised that I didn’t like the look of the puffed sleeves; they were just so big and full of secrets. They looked great in pictures but when I had them on it felt like I was being swallowed by the sleeves so I made an executive decision to detach the sleeves and slim them down. I did this by tracing the original sleeve pattern onto cardboard and taking 4 inches (2 inches each side) off the top of the sleeve and taking 12 inches (6 inches each side) off the widest part of the bottom of the sleeve and shortened the height by 2 inches. I replaced the cuffs with elastics and gathered the top of the sleeve, and attached as normal. I do think that the heavyweight of the linen I used added extra body to the sleeves, making them even bigger than they already are, so that’s something to consider when choosing fabric for this project.

Here is the original sleeve vs the altered sleeve.

Next up - the skirt! This pattern has two skirt options: a simple skirt option or a tiered skirt option. I opted for the tiered skirt option to give the dress because I like that look. The skirt was fairly easy but time-consuming as it requires over 5 metres of gathering! I gathered both tiers and attached the first to the bodice and the second to the first tier and hemmed the skirt, and it was complete!

Overall closing thoughts: while I did enjoy sewing this dress, I must admit that I underestimated the pattern and how long it would take. I knew it wasn’t a beginner level project, but I didn’t expect it to be such an involved make, but nonetheless, I enjoyed challenging myself and learning how to make a cuff (even if I didn’t use it in the end). The linen that I chose was really easy to work with, even though it’s a heavier weight than what I had originally imagined, but I know the fibres will soften over time with each wash and give the dress a more worn-in and less stiff look which is one of the great benefits with working with linen.
Rose Pink Linen Fabric


Blog by
Darwin
Instagram : darwin.sews


